Facebook Timeline is now available to all Facebook users. Learn more about the global Timeline rollout for web, as well as Timeline for mobile web and Android. To enable Timeline for your profile, visit http://www.facebook.com/about/timeline]
The new Timeline has been designed to provide users of Facebook with an easier way to rediscover the things you shared with friends, and collate your most important moments. Facebook has enabled a graced period of 7 days for the new Timeline once you have upgraded. Which allows you to check your account and new Timeline before it is revealed to any of your Facebook friends.

If you want to see how your timeline appears to other people, click the gear menu at the top of your timeline, and select “View As.” You can then choose to see how your timeline appears to a specific friend or the public. Timeline allows you to then remove and add stories you might like to feature.
For more information on how to use the new features within Facebook’s Timeline, jump over to the Facebook blog post announcing its arrival. There is also a video you can watch which explains everything in more detail.
Here’s how to do it!
Facebook founder Mark Zuckerberg, presented on thursday “Timeline”, a new app that allows the user to show the history of his own life on his profile page. Facebook’s new face is completely different for it allows to show in only one page all the content that has been shared by the user since the moment he joined this web community.
If you think you´re ready to be part of the new Facebook’s design say farewell to your “Wall” and say hi to “Timeline”, all you have to do is to follow these steps:
1. Open your profile on facebook
2. Go to Facebook developers page http://developers.facebook.com/apps
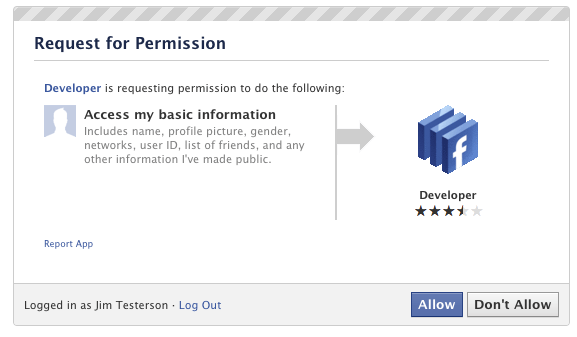
3. Click on “Allow”
4. Click on “Create new application”
5. Write down your name on the first blank and write a word of 7 characters on the second one.
6. Fill the security control blank
7. Click on “Open Graph”

8. Two spaces will appear. On the first one you should write a verb, on the second one, a noun. Then click “Get started”
9. Click on “Save changes and Next”
10. On the next window also click “Save changes and Next”
11. Then click “Save and Finish”
12. Now go back to your profle and reload the page.
13. Click on the page “Get it now” button that appears on the top of your profile page.
Done! You have the “timeline” on your Facebook page.
Source: Facebook


